This post walks you through how the idea came to life, the hardware I used, how it integrates with Home Assistant, and what makes it flexible enough to control not just my air conditioners, but practically any smart device.
Smart OLED Remote Series
- Part 1 – Overview & Features (you are here)
- Part 2 – PCB, OLED & Electronics
- Part 3 – Remote Assembly Guide
- Part 4 – ESPHome Firmware
Have you ever wished you could control your air conditioner, lights, or even curtains with a single custom-made remote that looks sleek and modern – and shows everything on a tiny OLED screen?
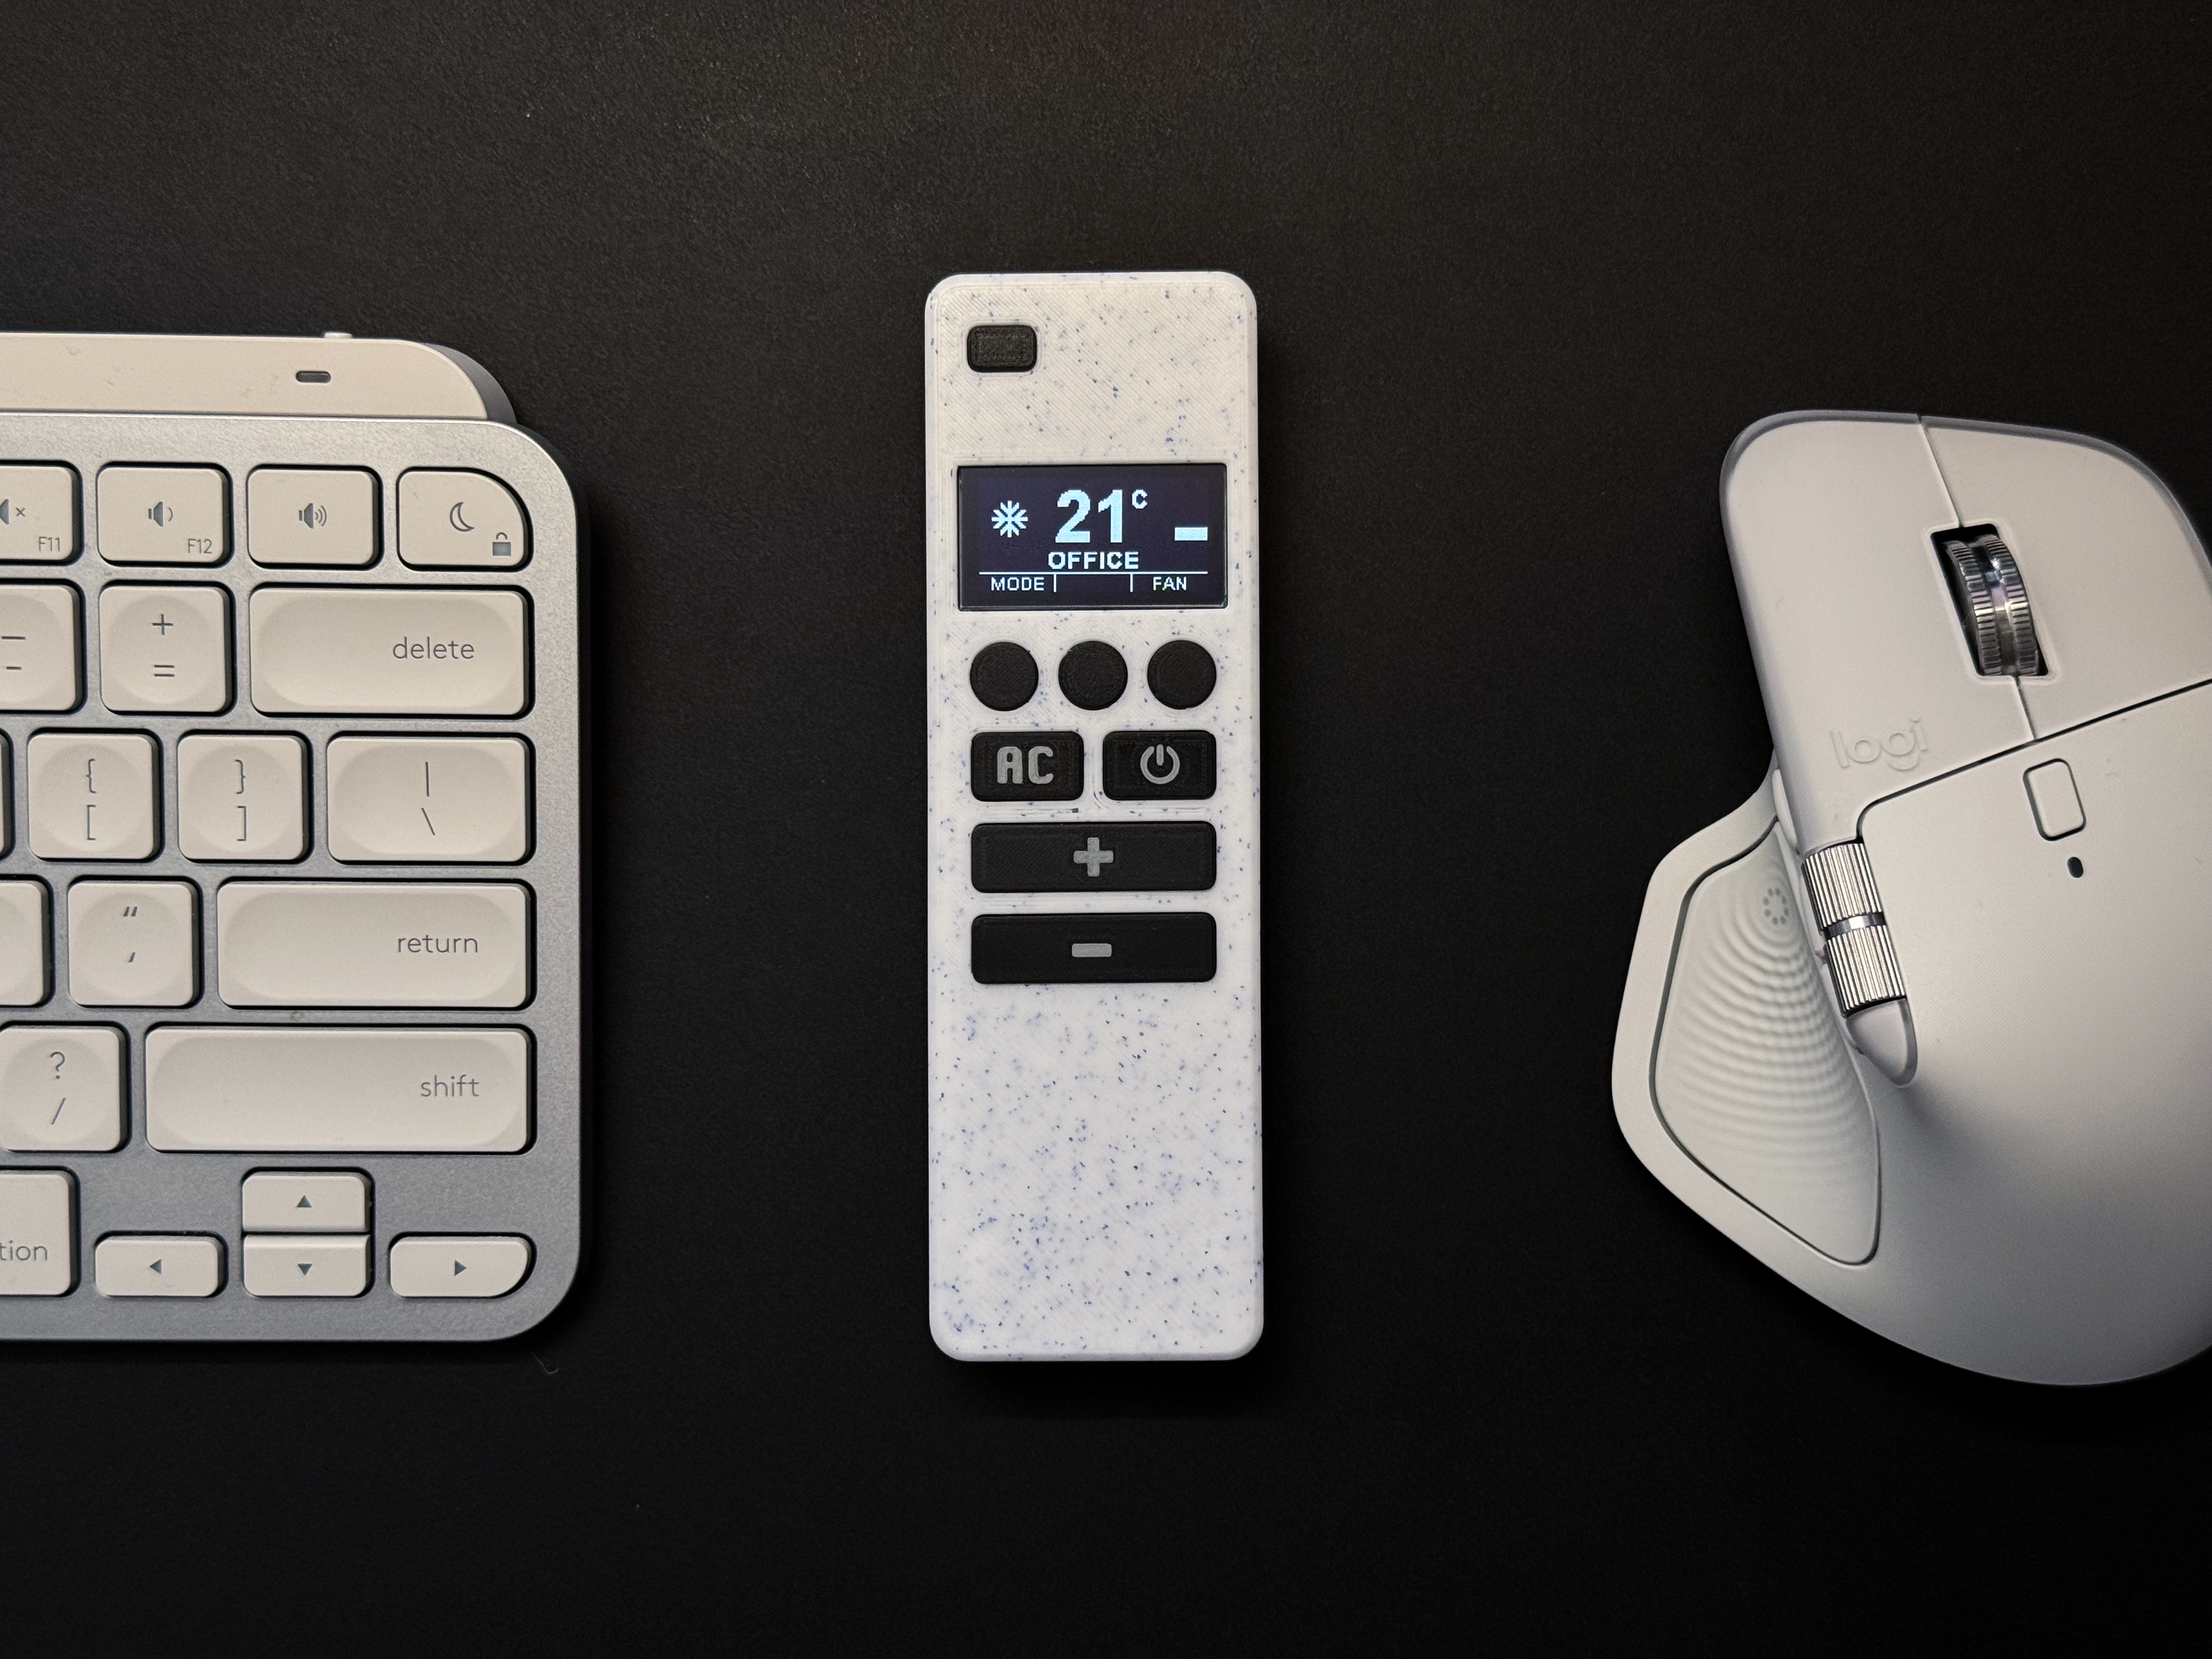
That’s exactly what I set out to build – and after a few weeks of tinkering, soldering, and 3D printing, I now have a fully functional smart remote powered by ESPHome, a 1.3” SH1106 OLED display, and an ESP32 Lolin board neatly packed into a 3D-printed case.

The Inspiration
The inspiration for this project came from The Stock Pot, who originally designed a simple ESPHome-based remote for Home Assistant entities. His project worked beautifully – but it lacked one key feature: a screen.
Without a display, it was difficult to see the current AC state or verify which mode or fan speed was active.
That’s where my version takes the next step forward. By adding a 1.3” OLED display, it became possible not only to visualize the real AC state in real time, but also to control multiple devices with fewer physical buttons. The screen turns the remote from a single-purpose controller into a versatile smart interface for the entire home.
The Hardware
You can purchase the complete remote or one of the available kits from my Etsy store, or you can gather all the required parts yourself using the list below.
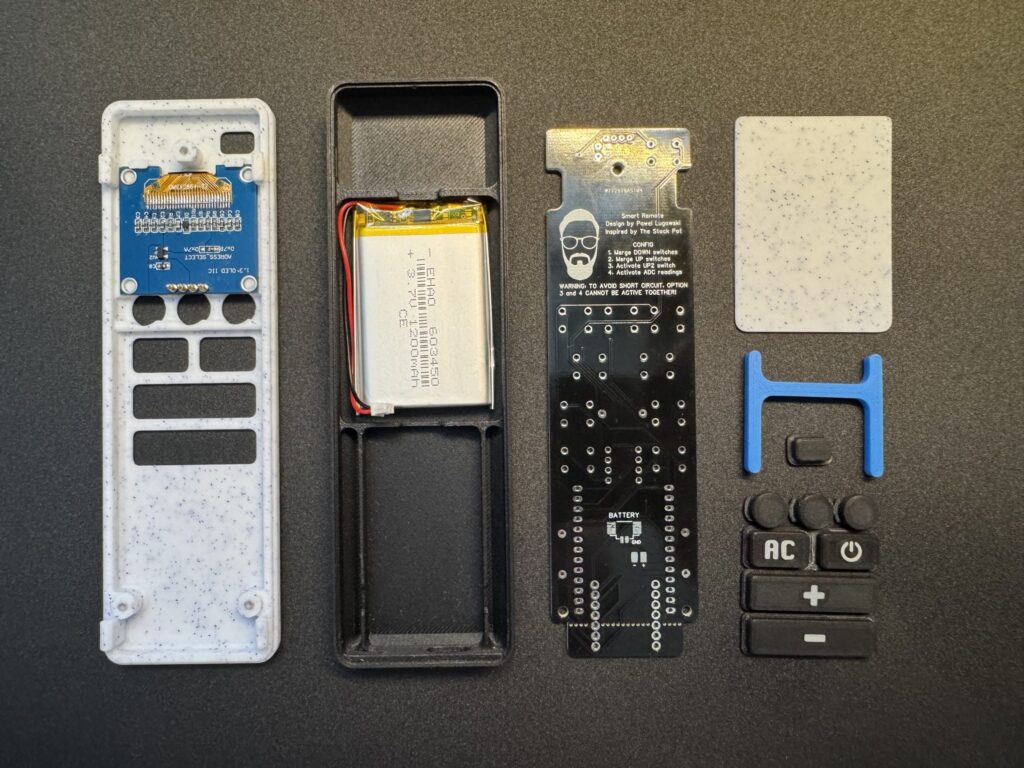
- WEMOS Lolin32 V1.0 or Seeduino ESP32 board – both are compatible with the same PCB
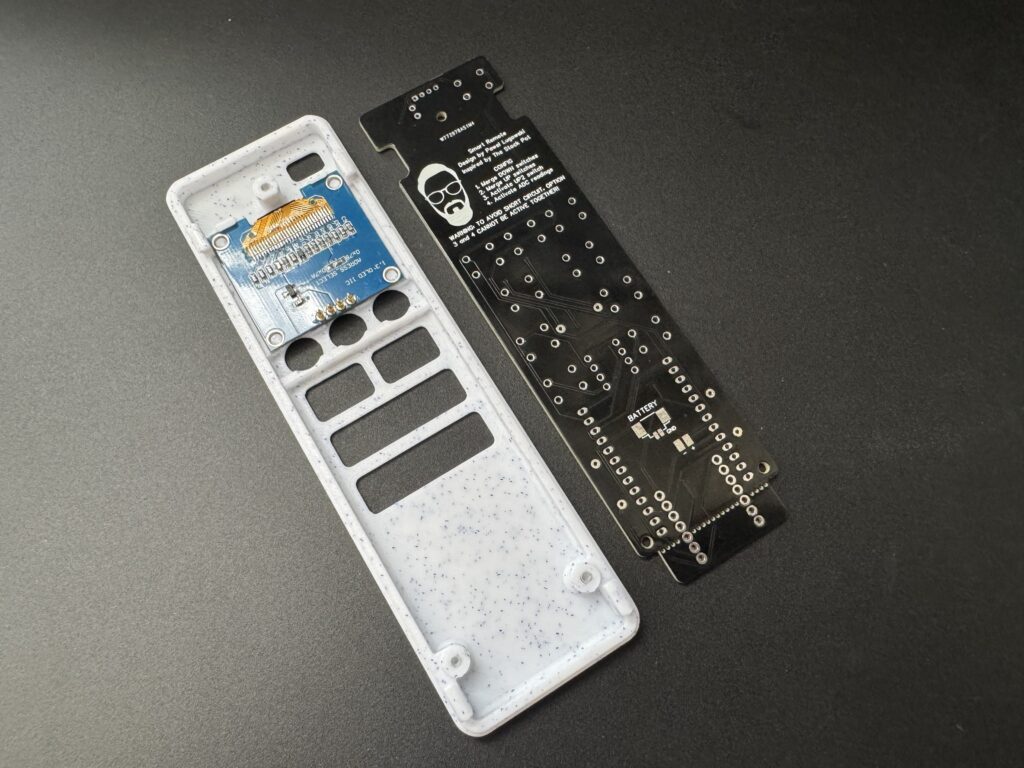
- 1.3” SH1106 OLED display – crisp and bright, perfect for showing status and icons
- LiPo 1200 mAh battery with JST 1.25mm connector
- Micro JST 1.25 mm wires ro solder on PCB to charging battery module
- Tactile seitches 6x6x5 – for navigating menus, changing modes, and sending commands
- 3D-printed enclosure – redesigned and reinforced from the original The Stock Pot model
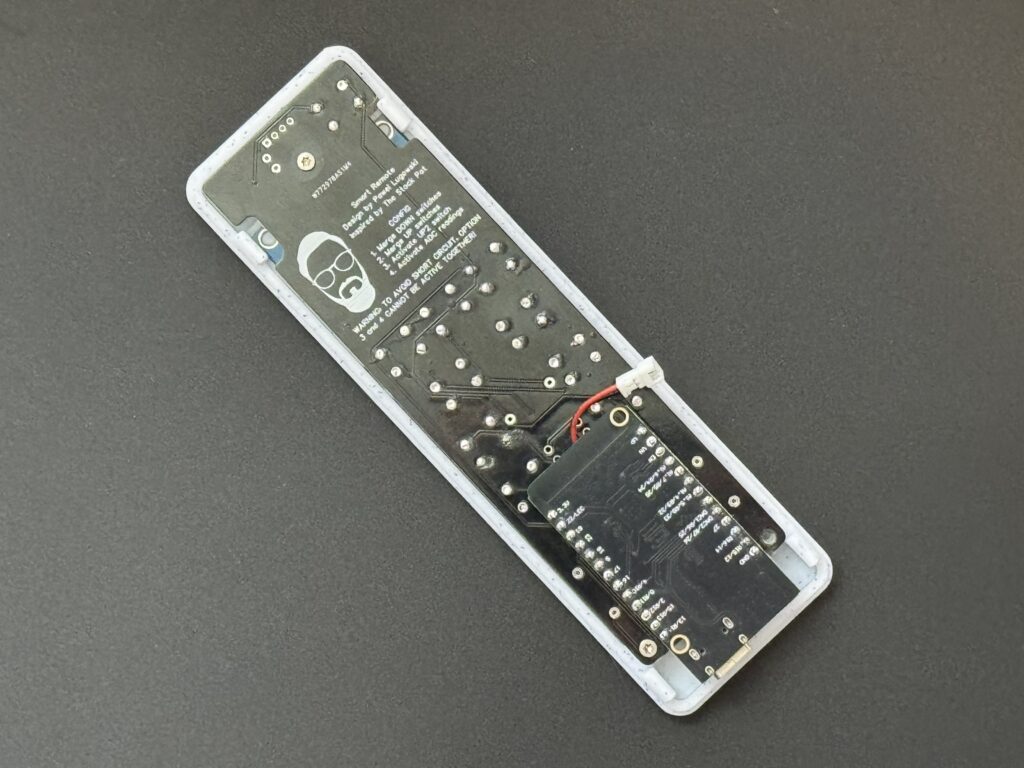
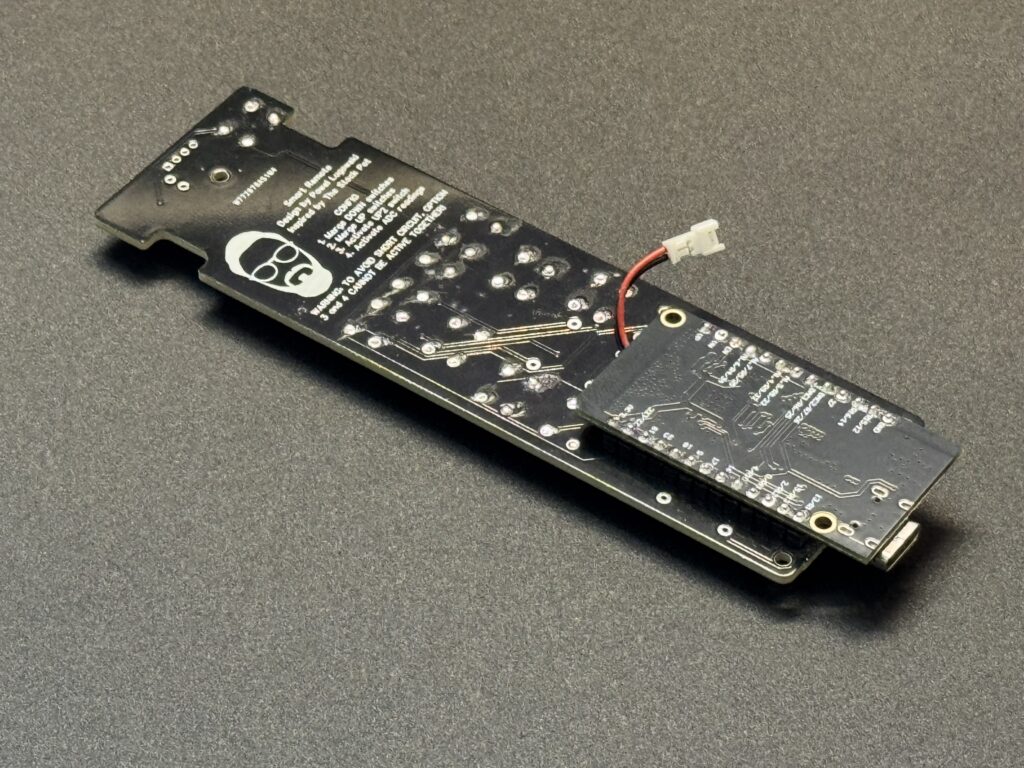
Inside the case, everything fits snugly: the ESP32 sits at the bottom, the OLED mounts flush on the front, and buttons line the side. A small Li-ion battery powers the unit, though it can also run directly over USB-C.
Case Design Improvements
The original case from The Stock Pot was a great starting point, but I wanted it to be sturdier, more secure, and easier to assemble.
I reinforced the snap-fit clips, making them significantly stronger so the case can be assembled and disassembled multiple times without cracking. The remote now closes using a pure click-on method – no screws needed – which gives it a clean, seamless look.
Another important addition is a divider plate that separates the battery compartment from the rest of the electronics. This plate helps protect the Li-ion battery from accidental puncture or pressure when pressing buttons or handling the device – a small but essential safety improvement.
ESPHome + Home Assistant Integration
The real magic comes from ESPHome.
I’ve written a custom YAML configuration that connects directly to Home Assistant’s native API. The OLED updates dynamically every time the AC state changes – whether from the mobile app, automation, or the remote itself.
The remote can:
- Display the current AC mode (Cool, Dry, Fan, Heat, Auto)
- Show fan speed, target temperature, and power state
- Switch between multiple AC entities (great for multi-room setups)
- Control lights, fans, or curtains by just changing the profile
All button actions are mapped to Home Assistant services, so reprogramming the remote is as simple as editing YAML.
A Universal Design
Although it started as an air conditioner controller, I quickly realized how universal the concept could be.
By changing just a few lines in the ESPHome config, I can control lights, fans, or even trigger automations like “Good Night” or “Open Curtains”.
The OLED layout is flexible enough to display relevant information for any entity type – brightness for lights, position for curtains, or on/off state for fans.
This versatility makes the device much more than just an AC remote – it’s a pocket-sized control hub for my entire smart home.
Challenges & Lessons Learned
Like every DIY project, this one came with a few hurdles:
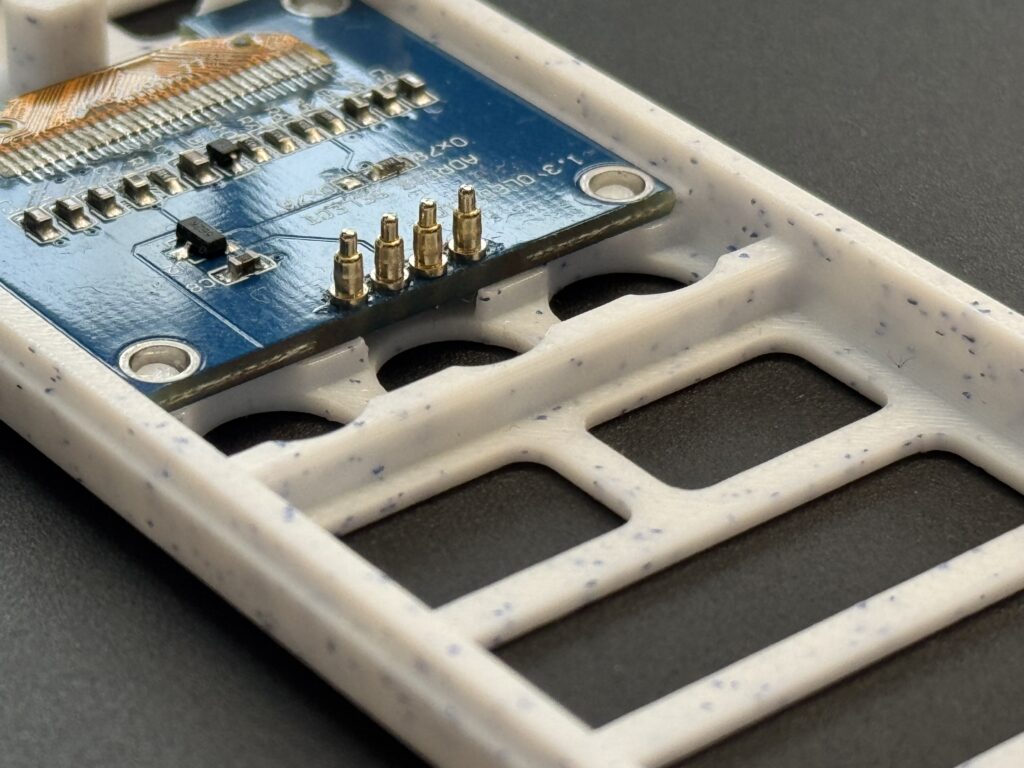
- Connecting the OLED display in limited space – fitting both the display and wiring inside the compact case was tricky, so I redesigned the PCB layout to optionally support pogo pin connections for a cleaner and more modular setup.
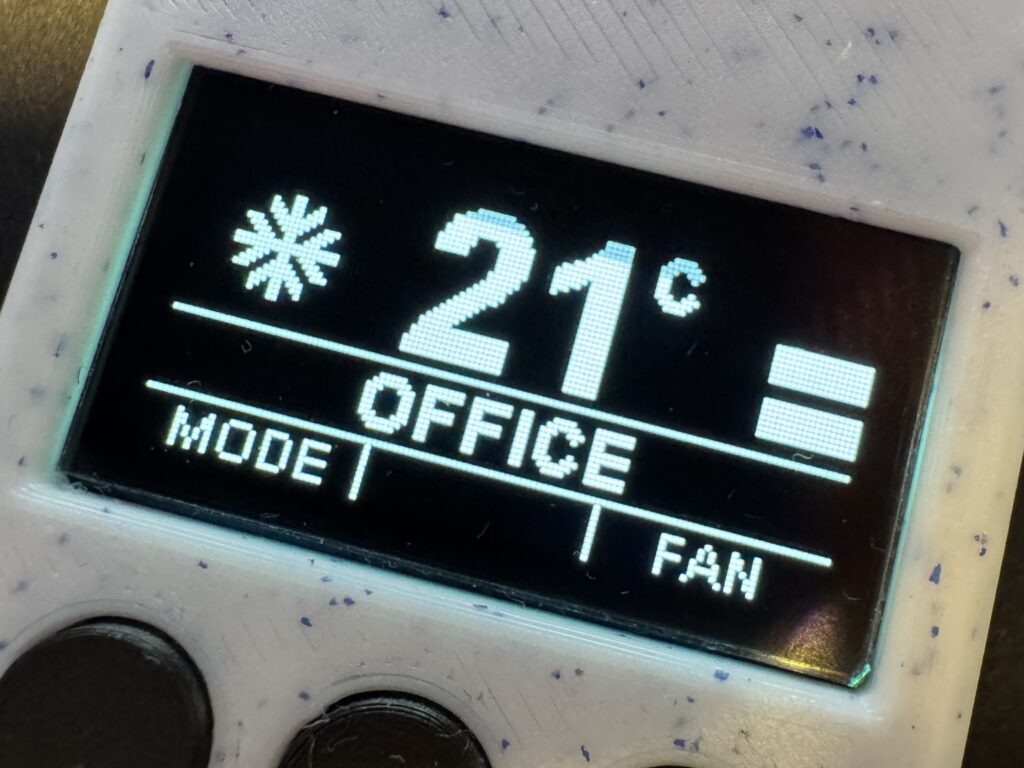
- Designing a clear and readable UI – making the small OLED screen intuitive took some effort. I used Material Icons to represent AC states, fan modes, and temperatures, resulting in a clean and easily understandable interface.
- Managing deep-sleep and wake-up behavior – to save battery life, the ESP32 automatically sleeps when idle and wakes instantly when a button is pressed.
- Redesigning the case from scratch – I rebuilt the entire enclosure to integrate all required buttons, add proper screen mounts, and strengthen internal supports. The new case feels sturdy, fits together tightly, and doesn’t produce squeaky sounds when handled.
The most satisfying part was watching it all come together – the first time the OLED displayed live data from Home Assistant was a real “it works!” moment.

If you’re into DIY smart home projects, this one’s a great mix of hardware tinkering, firmware creativity, and design work – and the result is something genuinely useful every day.

Final Thoughts
This OLED remote started as an inspired continuation of The Stock Pot’s idea – and it evolved into one of my favorite smart home tools.
It proves that with an ESP32, a few buttons, and a small display, you can create devices that feel polished, personal, and deeply integrated into your Home Assistant ecosystem.
I’ll be sharing the full 3D printing files, ESPHome configuration, and wiring diagram soon – stay tuned!
Resources
- ESPHome YAML configuration for remote is available in my GitHub repository where I will try to keep it up to date for my latest working version.
- 3D-printed enclosure ready for this project, available on Maker’s World.
- You can also find ready-made kits and fully assembled remotes available on Etsy.
That LED screen radiates more personality than half my smart devices, and the sealed battery compartment feels like a public safety measure.
Can I order one?